 English
Push to Connect Tube Fittings and Common Installation Errors – PDF, 4 pages
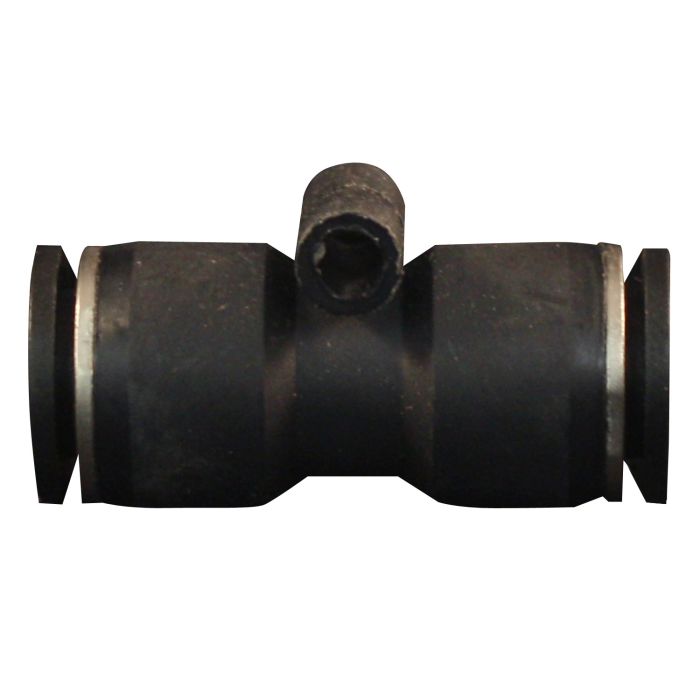
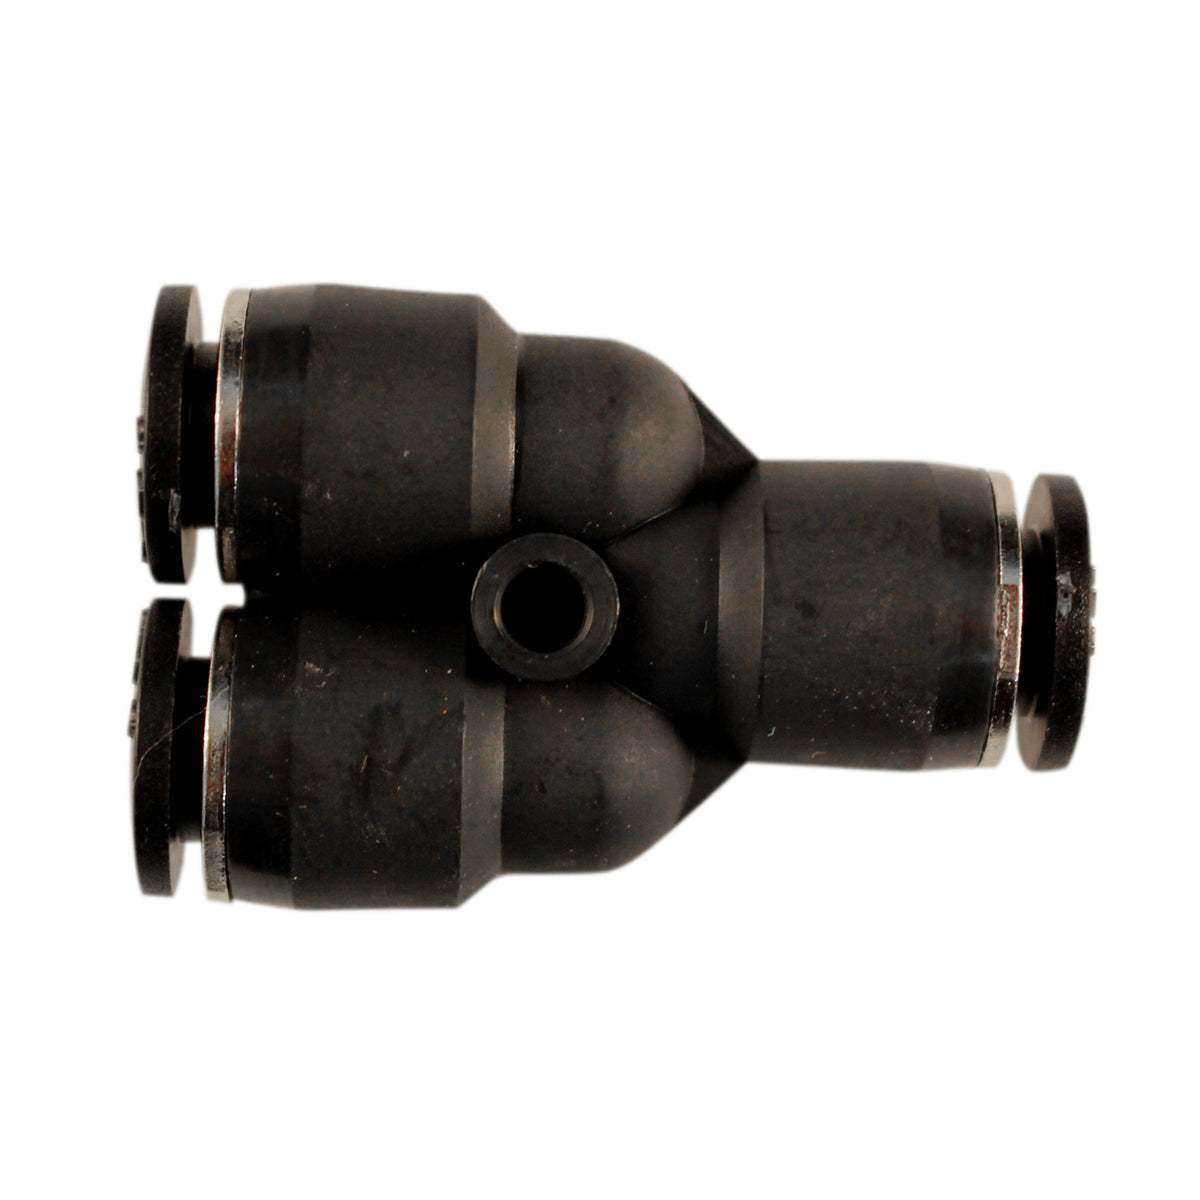
Push to connect tube fittings should be selected by tubing outside diameter, tubing material, dimensional tolerance and the connection at the opposite end. A tube that appears to enter a fitting is not sufficient evidence of compatibility. The fitting must grip and seal against tubing approved for that product.
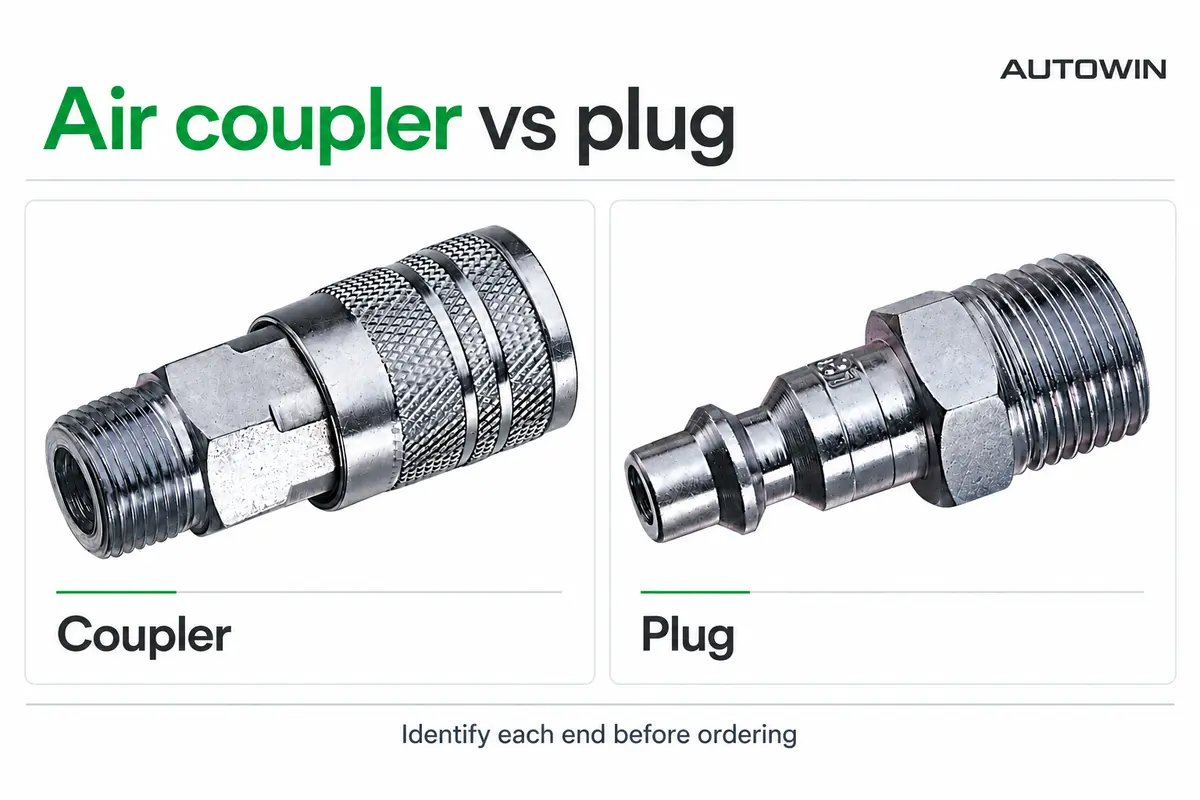
This article covers fittings into which a pneumatic tube is inserted directly. A quick coupler that accepts a separate metal plug is a different connection. For that mechanism, see our manual and automatic coupler comparison.
Put tubing OD ahead of the thread description
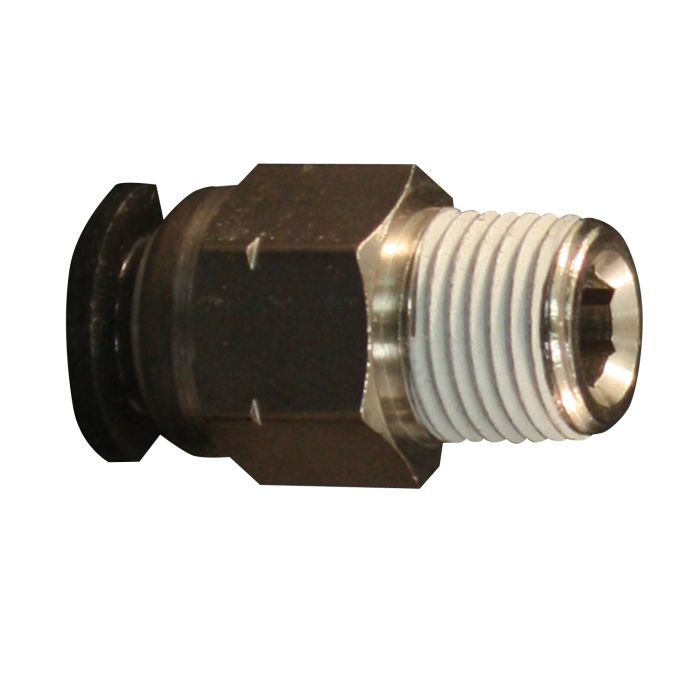
A push to connect tube fitting with a threaded end has two separate sizes. One identifies the tubing outside diameter; the other identifies the port connection. Write both on the purchase order, along with the thread standard and whether the threaded end is male or female.
SMC’s KQ2 catalog lists applicable tubing OD separately from port size. Its inch-size range also distinguishes the tubing system from the connection thread. That ordering structure illustrates why a description such as “quarter-inch fitting” is incomplete.
When comparing 1/4 push to connect tube fittings, confirm that 1/4 inch refers to tube OD in each listing. If a product also has a 1/4-inch threaded end, retain both descriptions. Likewise, a search for 3/8 push to connect fittings can return different tube and thread combinations; the listing must state which interface the dimension describes.
Keep metric and inch tubing identities explicit. A visually similar diameter is not a substitute for the specified OD and tolerance. Our guide to connection dimensions explains why nominal size labels need their interface context.
Confirm the tubing specification
The fitting manufacturer’s documentation should identify compatible tube materials and dimensional requirements. The SMC precautions discuss OD accuracy, material, hardness and surface condition when evaluating tubing from another manufacturer. Those requirements belong to the specific fitting and tubing system; they should not be copied as universal limits for another brand.
Ask your supplier to identify the approved tube family and operating conditions. Check pressure and temperature together with the tubing specification. A fitting’s catalog limit does not automatically become the limit of the complete pneumatic line.
Record the tube manufacturer and part number in an OEM bill of materials. If purchasing proposes a different tube, review that substitution before production. A supplier change can affect more than the printed outside diameter.
Prepare the end without damaging the sealing surface
SMC instructs users to make a perpendicular cut with a suitable tube cutter and avoid methods that deform the tubing. It also emphasizes protecting the outside surface. These details matter because the connection engages the outside of the inserted tube.
Follow the selected fitting’s installation procedure for insertion depth and retention checks. In the referenced SMC instructions, the tube is inserted straight to the stop and then gently pulled back to check engagement. Apply the procedure specified for the actual product rather than transferring a numerical depth from another fitting.
Inspect the end before insertion. A visibly distorted cut, damaged surface or contamination should be resolved using the manufacturer’s instructions. For removal, isolate and depressurize the line first, then use the release mechanism as directed. Do not attempt to pull tubing out of a pressurized connection.
Use the leak location to organize the inspection
If an installed connection leaks, identify whether the leak comes from the tube entry, the threaded port or a damaged body. These locations suggest different checks. They do not establish the cause without inspection.
| Leak or installation symptom | Items to check after isolation |
|---|---|
| Leak around the tube entry | Tube OD, approved material, surface condition and full insertion |
| Leak at the equipment port | Thread compatibility, sealing arrangement and installation condition |
| Tube is pulled sideways at the fitting | Routing, available straight length and external loads |
| Repeated trouble after reconnection | Condition of the previously gripped tube end and the manufacturer’s replacement instructions |
SMC’s instructions address removing the previously gripped portion when tubing is reused in the specified system. Do not assume that every tube end or fitting can be reused indefinitely. Follow the replacement criteria for the actual components, especially where damage or deterioration is present.
Leave room for the tube and release mechanism
A compact fitting can still require space for a straight tube approach and access to its release collar. Check that a nearby panel, cable tie or adjacent connector does not force the tube sideways or prevent maintenance access.
SMC’s recommended piping conditions call for sufficient tube length and avoiding external force on the fitting when bundling lines. For an OEM machine, review the installed tube path in the assembly drawing rather than checking each fitting in isolation.
Also consider the maintenance sequence. A tube connection that can only be reached after removing unrelated components may be a poor choice for a frequently serviced location. Resolve access during the layout review.
Create a complete bulk purchasing description
A wholesale or OEM request should state tube OD, tube specification, port thread, body shape, medium and service conditions. Include requirements for identification, packaging and any documentation needed for incoming inspection. Ask the fitting manufacturer to confirm substitutions explicitly.
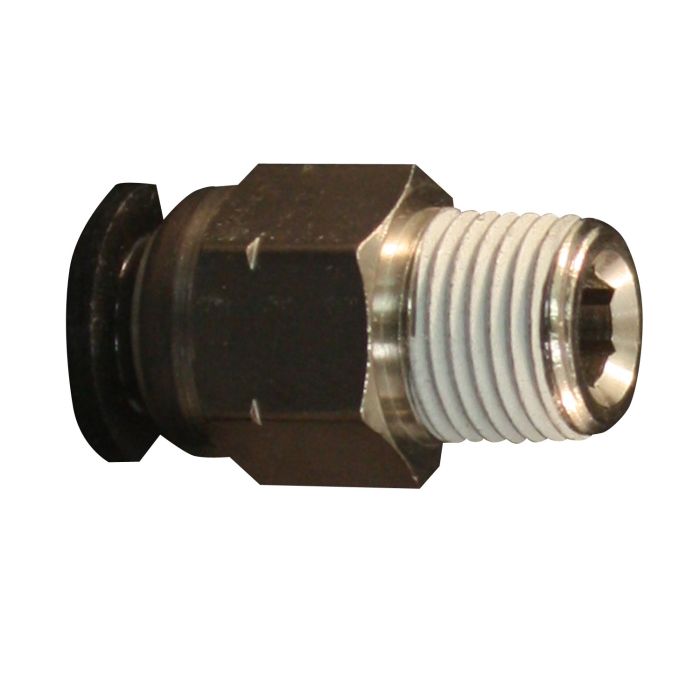
AUTOWIN lists a 1/4-inch OD tube fitting with a 1/4-inch MNPT connection. When you request a quote for tube fittings, provide the intended tubing and operating conditions so compatibility can be reviewed alongside the connection size.
Technical references
- SMC KQ2 and KJ One-touch Fittings Catalog, printed pages 34, 118 and 120, corresponding to PDF pages 37, 121 and 123. Topics include separate tube and port sizing, installation, tubing selection and routing precautions.